Designing a garden in a small space may seem limiting, but it is all about how you utilize that area. You can make the most of it by taking advantage of vertical space and choosing products that maximize planting and storage capacity. The key to creating a functional small garden area is to style it with purposeful products; it will feel less cluttered and more intentional.
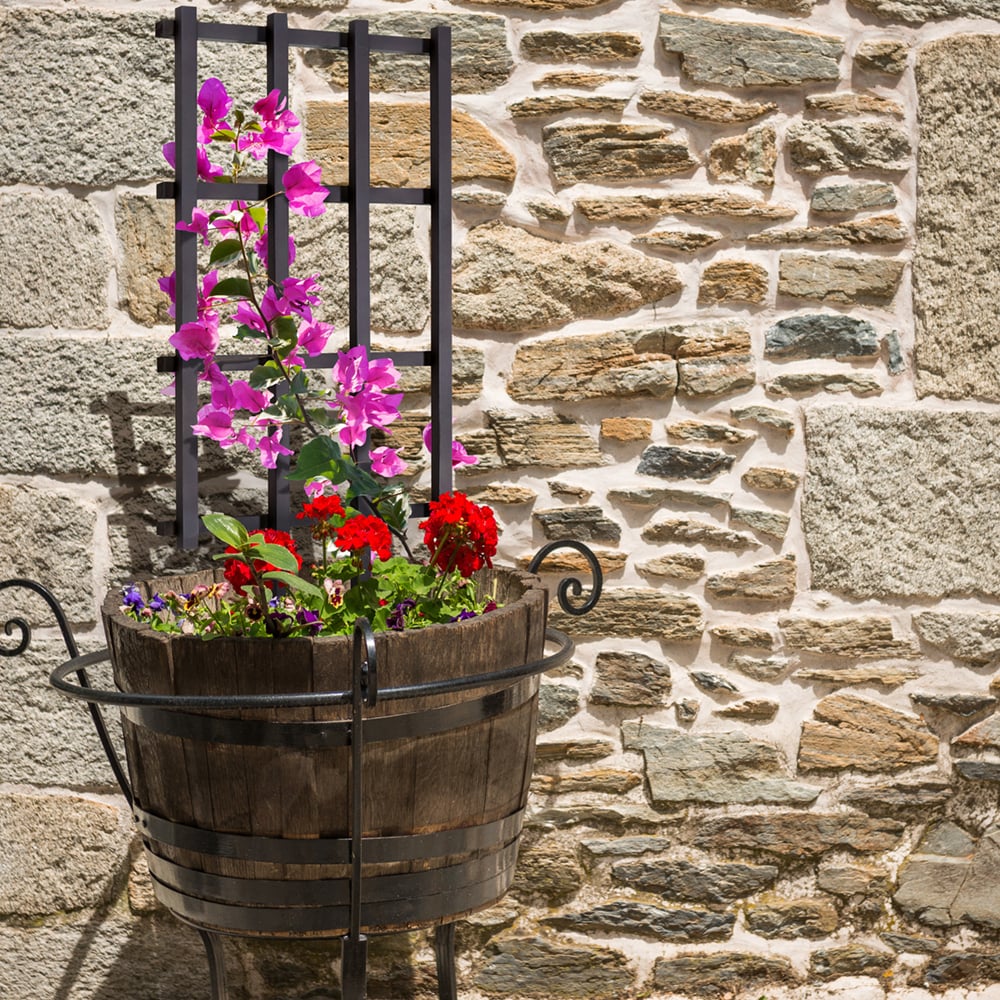
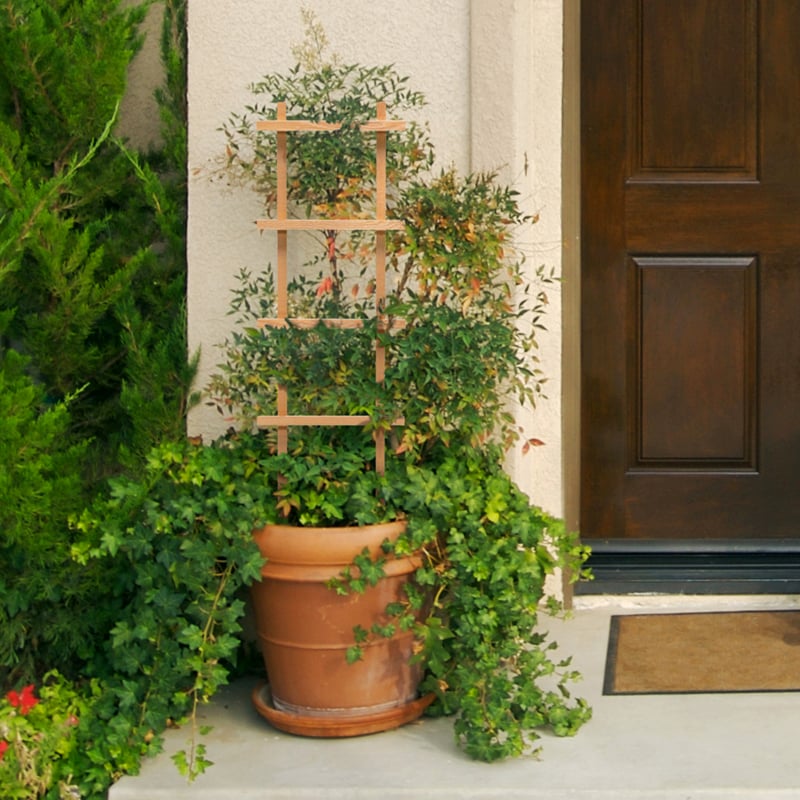
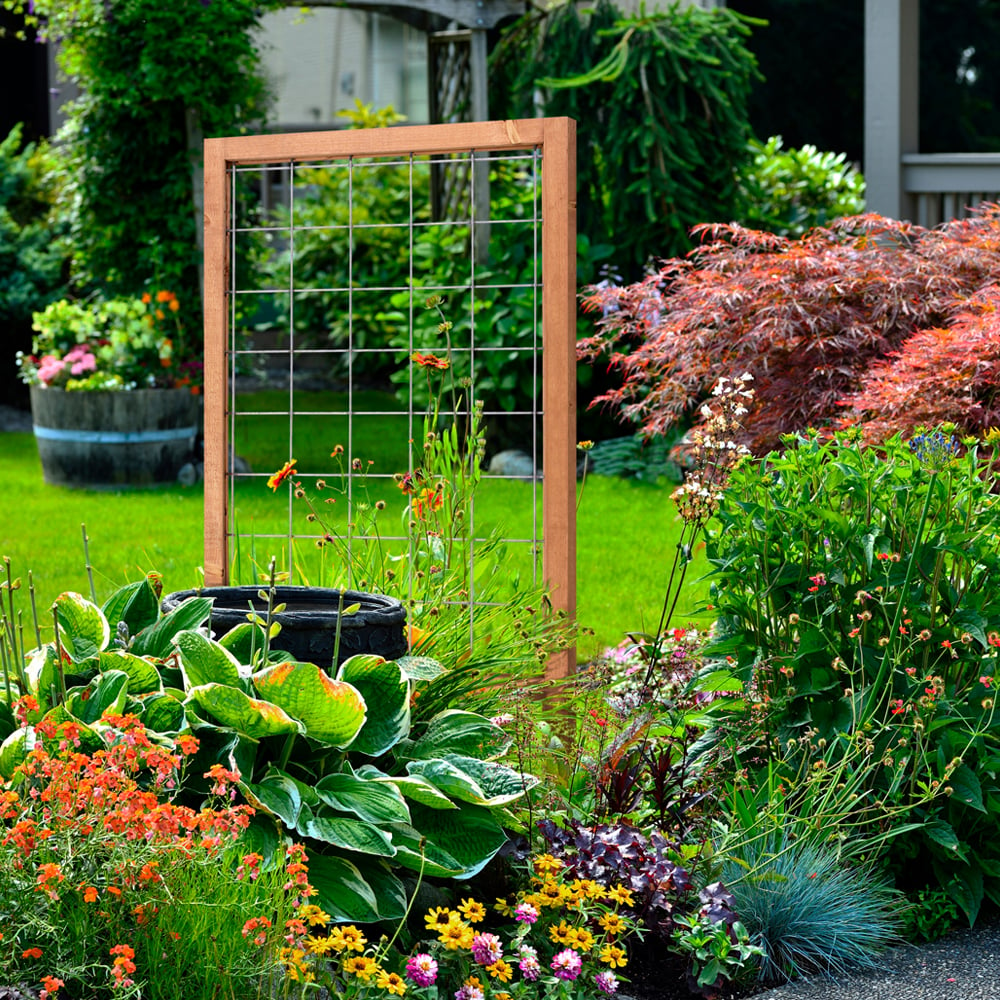
1. Small Trellis for a Flowerpot
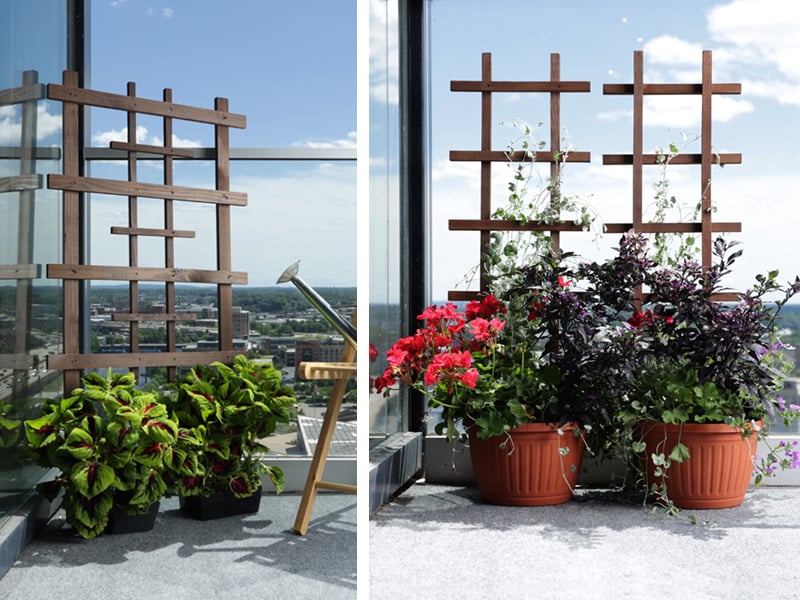
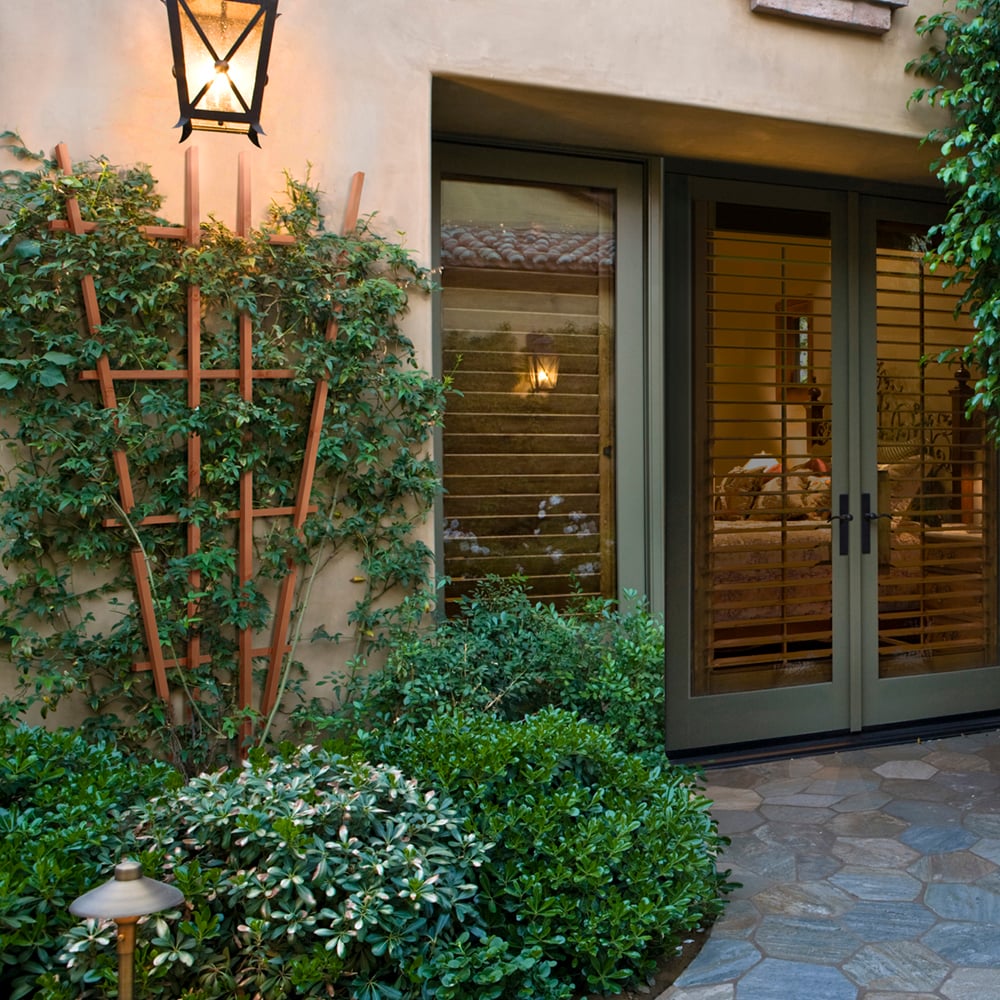
Haven 48 in. Walnut-Tone Cape Town Trellis
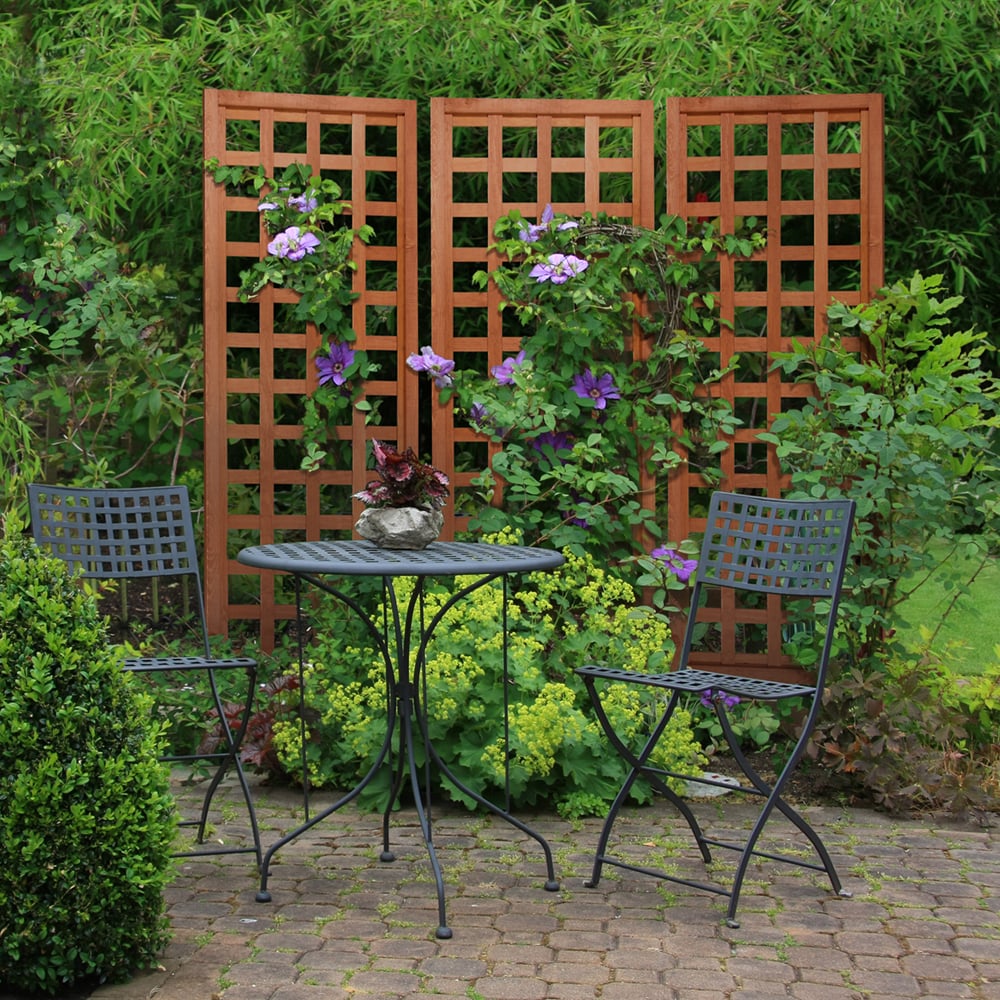
Homestead 36 in. Walnut-Tone Pot Trellis (2-Pack)
If you have flowers in small to medium-sized pots on your balcony or patio, one solution is to keep it simple by adding a small trellis in or behind them. It encourages vines to grow upward (instead of outward) and adds purposeful décor to your space. Our Haven Cape Town Trellis is designed to be styled with one rectangular or multiple small flowerpots. And this Homestead Pot Trellis is perfect with flowerpots or staked in an elevated garden planter.
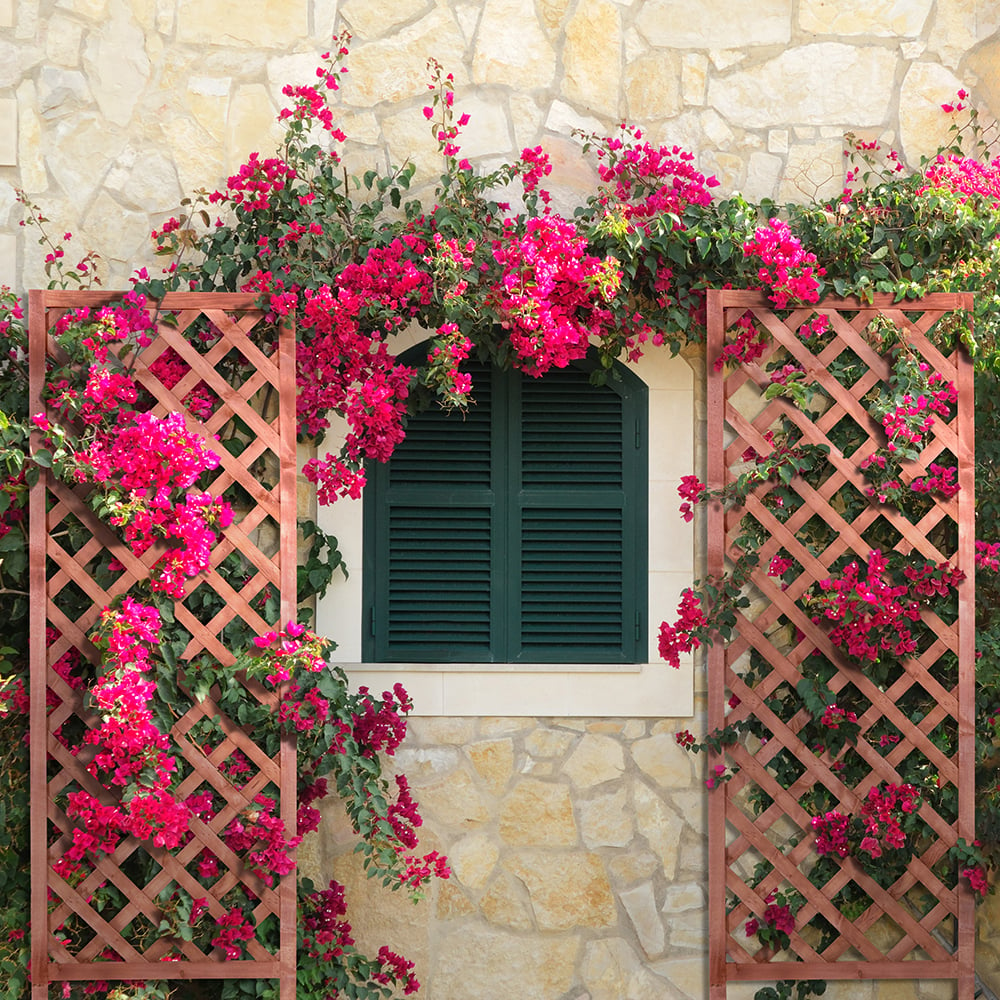
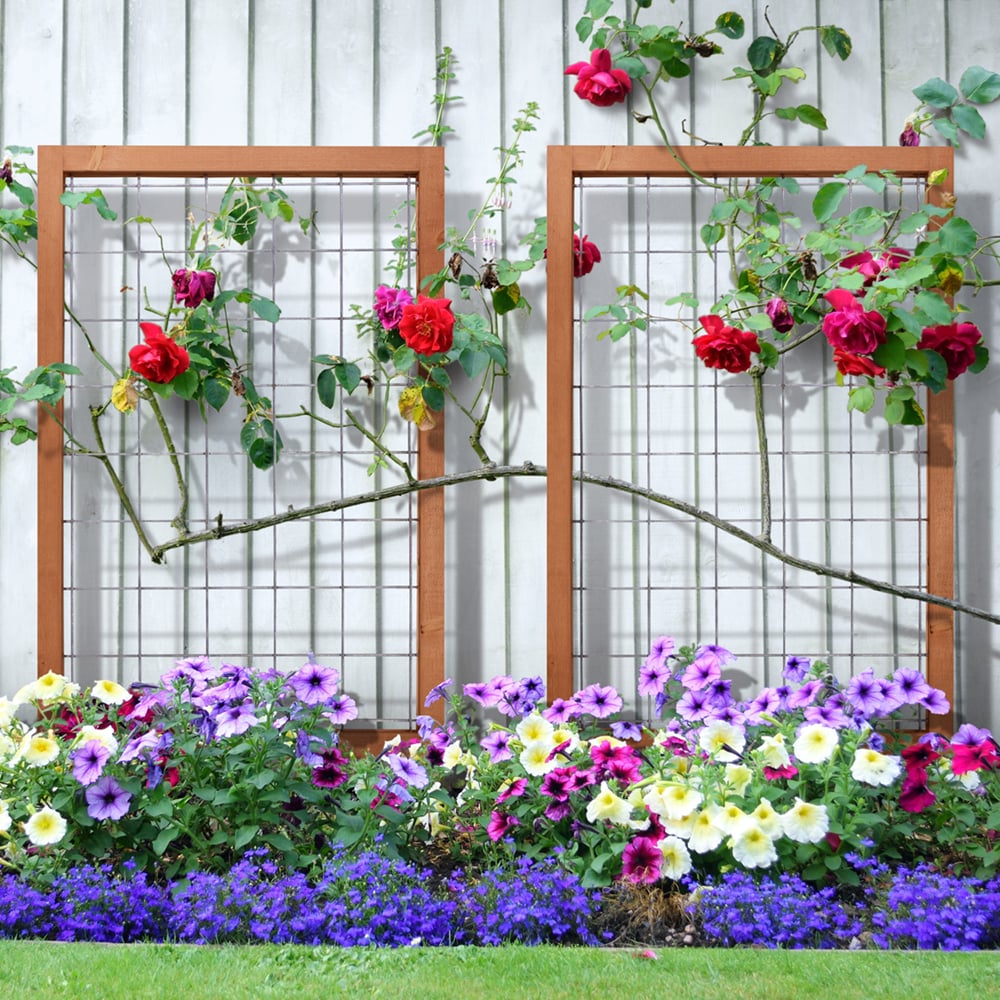
2. Take Advantage of Vertical Space
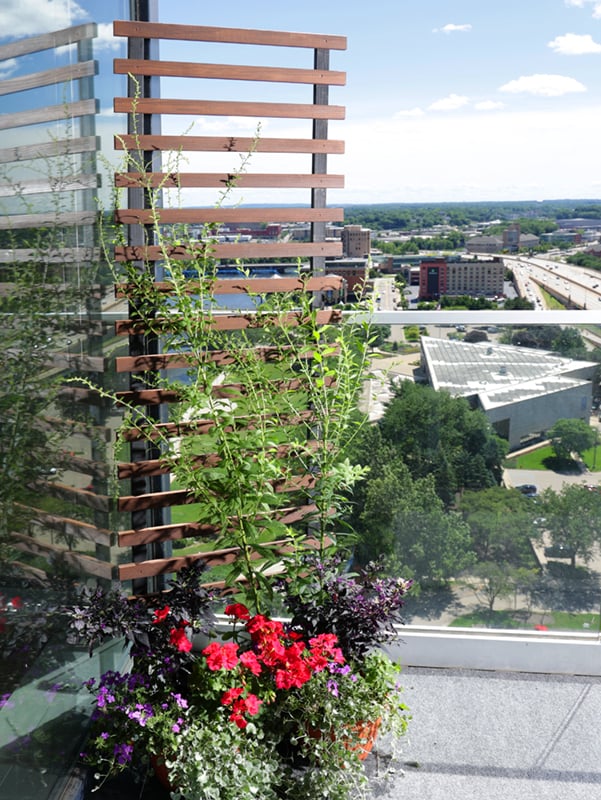
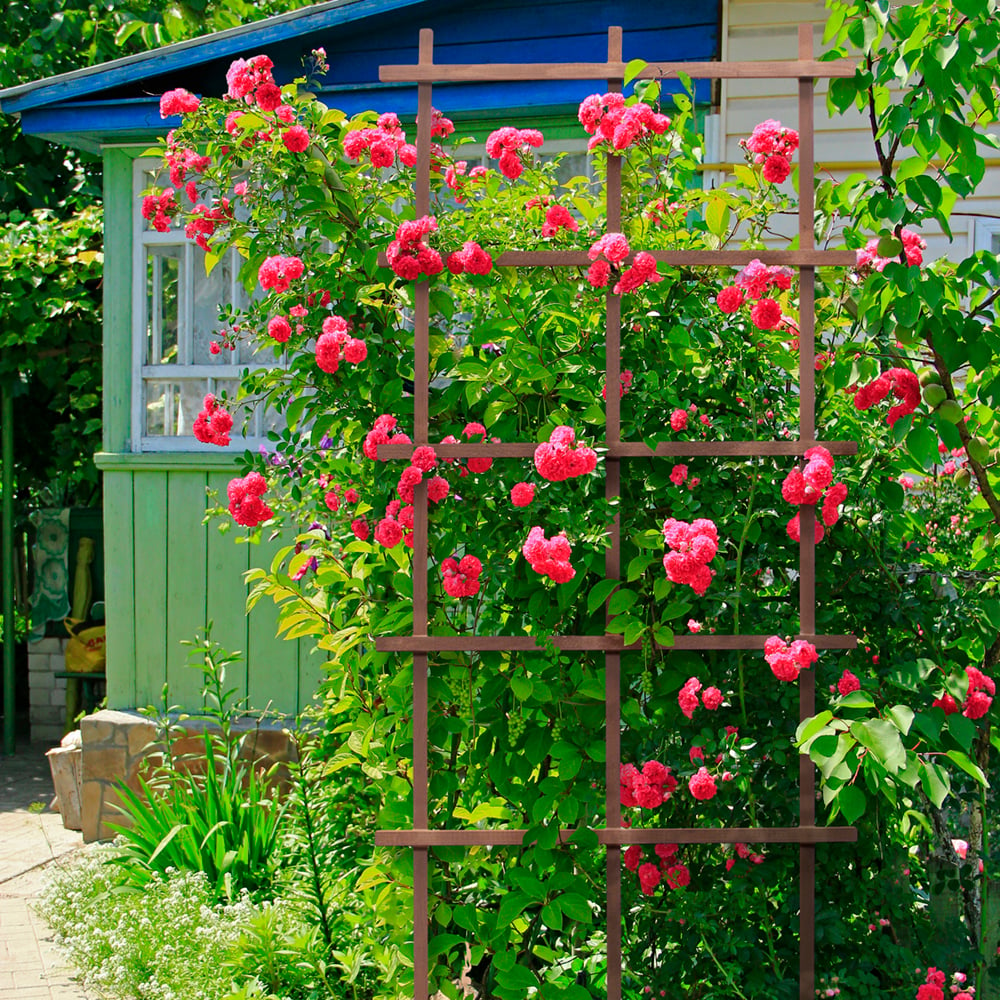
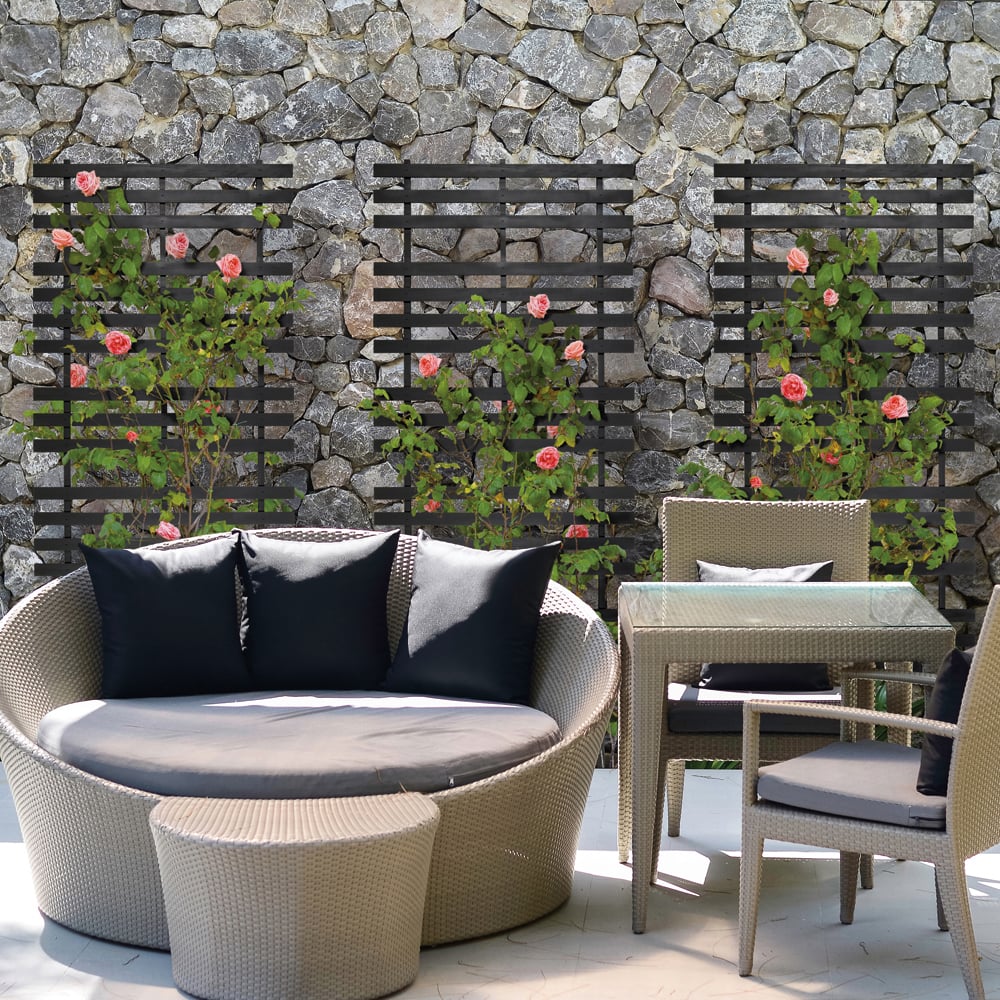
Haven 72 in. Black and Cedar-Tone Ladder Trellis
Stubborn climbing plants that want to grow outwards often take over the entire space, which is not ideal for small gardens. One way to control the vines is to take advantage of your vertical space by incorporating a tall trellis. Plus, it will give the appearance of a bigger space. This two-toned trellis is the perfect modern take on a traditional trellis and is six feet tall for maximum functionality.
3. Incorporate a Planter with Storage
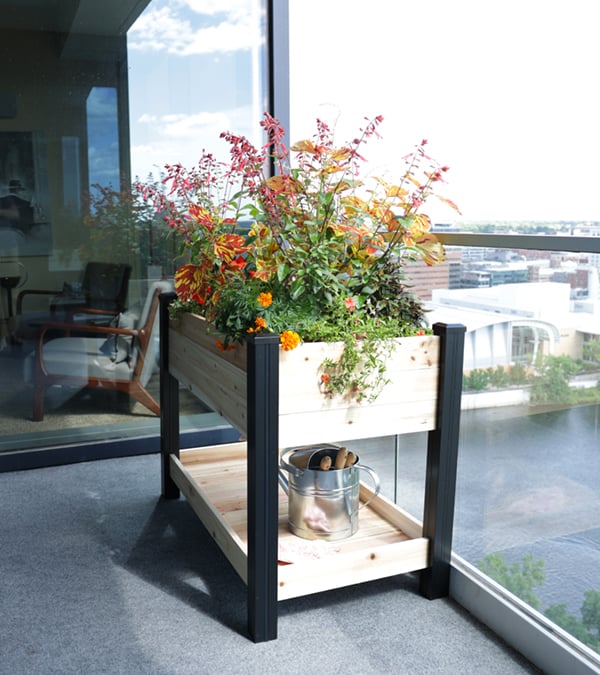
Haven 2 ft. x 4 ft. Cedar Elevated Garden Planter with Shelf
Not only is garden space limited, but storage capacity is as well. Create a designated spot for your watering can and gardening gloves by incorporating a planter with a shelf. This way, you’re creating both a decorative and functional area. Choosing one with vinyl legs and corners is the perfect low-maintenance option for outdoor spaces.
4. Small Planter for Small Corners
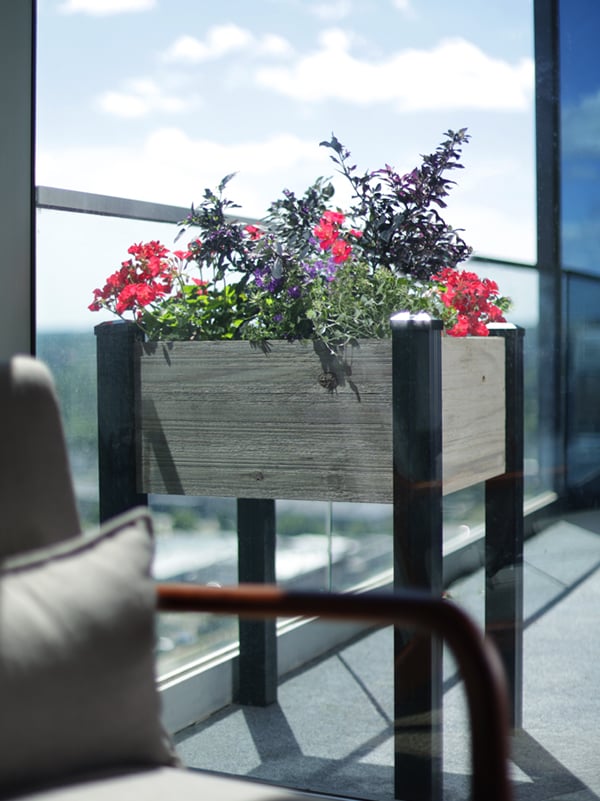
Haven Barn Wood Gray Elevated Garden Planter
A simple way to style your small garden space is to incorporate a small, elevated garden planter. A 2x2 size or smaller is perfect to style in the corner with a chair or end table. It gives you the ability to add a pop of color and functionality to your balcony or patio. Have your choice between Weathered Brown, Antique White, and Barn Wood Gray to best fit your style!
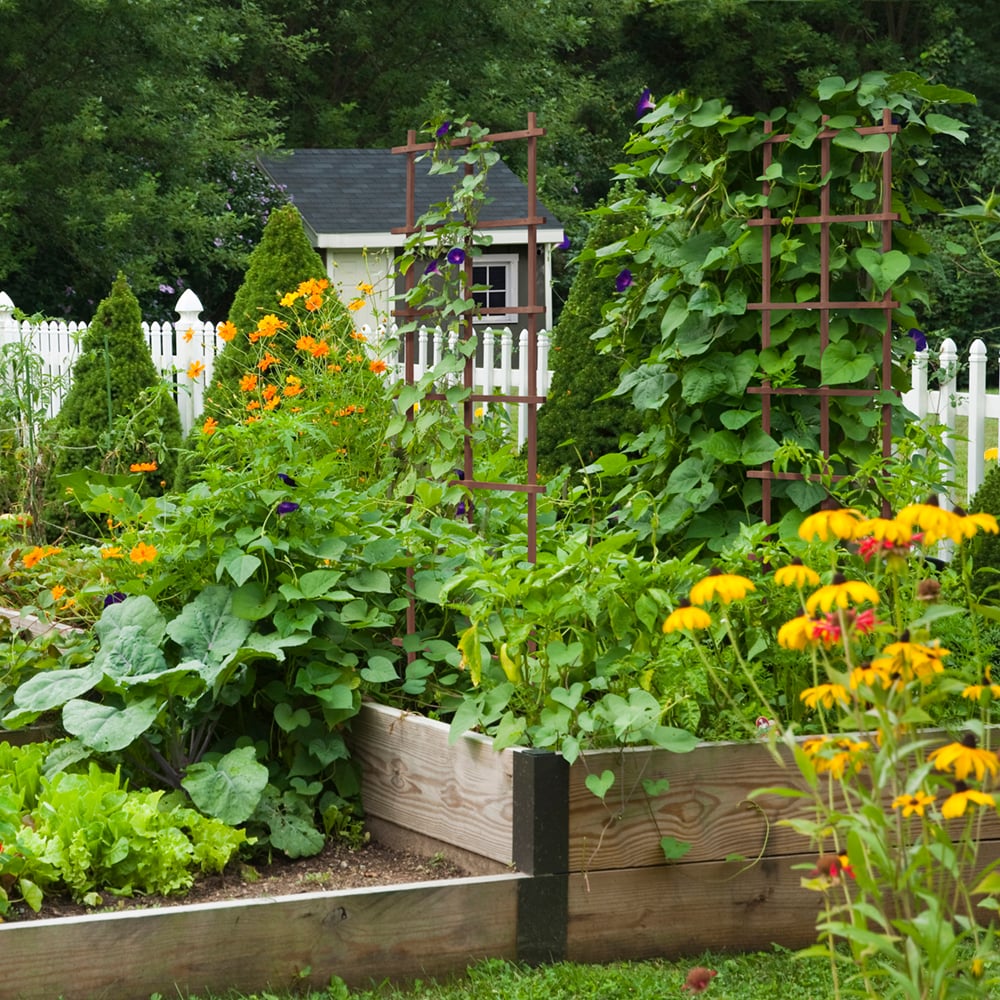
5. Go Natural for Organic Gardening
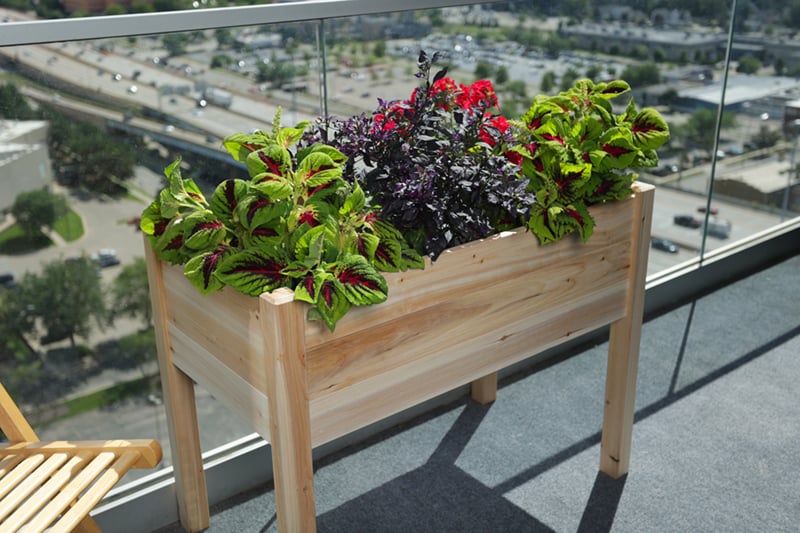
Homestead 18 in. x 36 in. Cedar Elevated Garden Planter
To grow organic fruits and vegetables, design your small space with an untreated cedar elevated garden planter. Choose one that is long and narrow so you can grow all the essentials in one place and still have room on your balcony/patio to include other functional products.
Designing a garden in a small space can be difficult if you’re not sure where to start. Choose products that are functional with their size and shape. And most importantly, take advantage of your vertical space. Share your completed small garden places on Facebook and Instagram and tag us in your photos!