April
2023
How Deep Should You Dig Fence Post Holes?
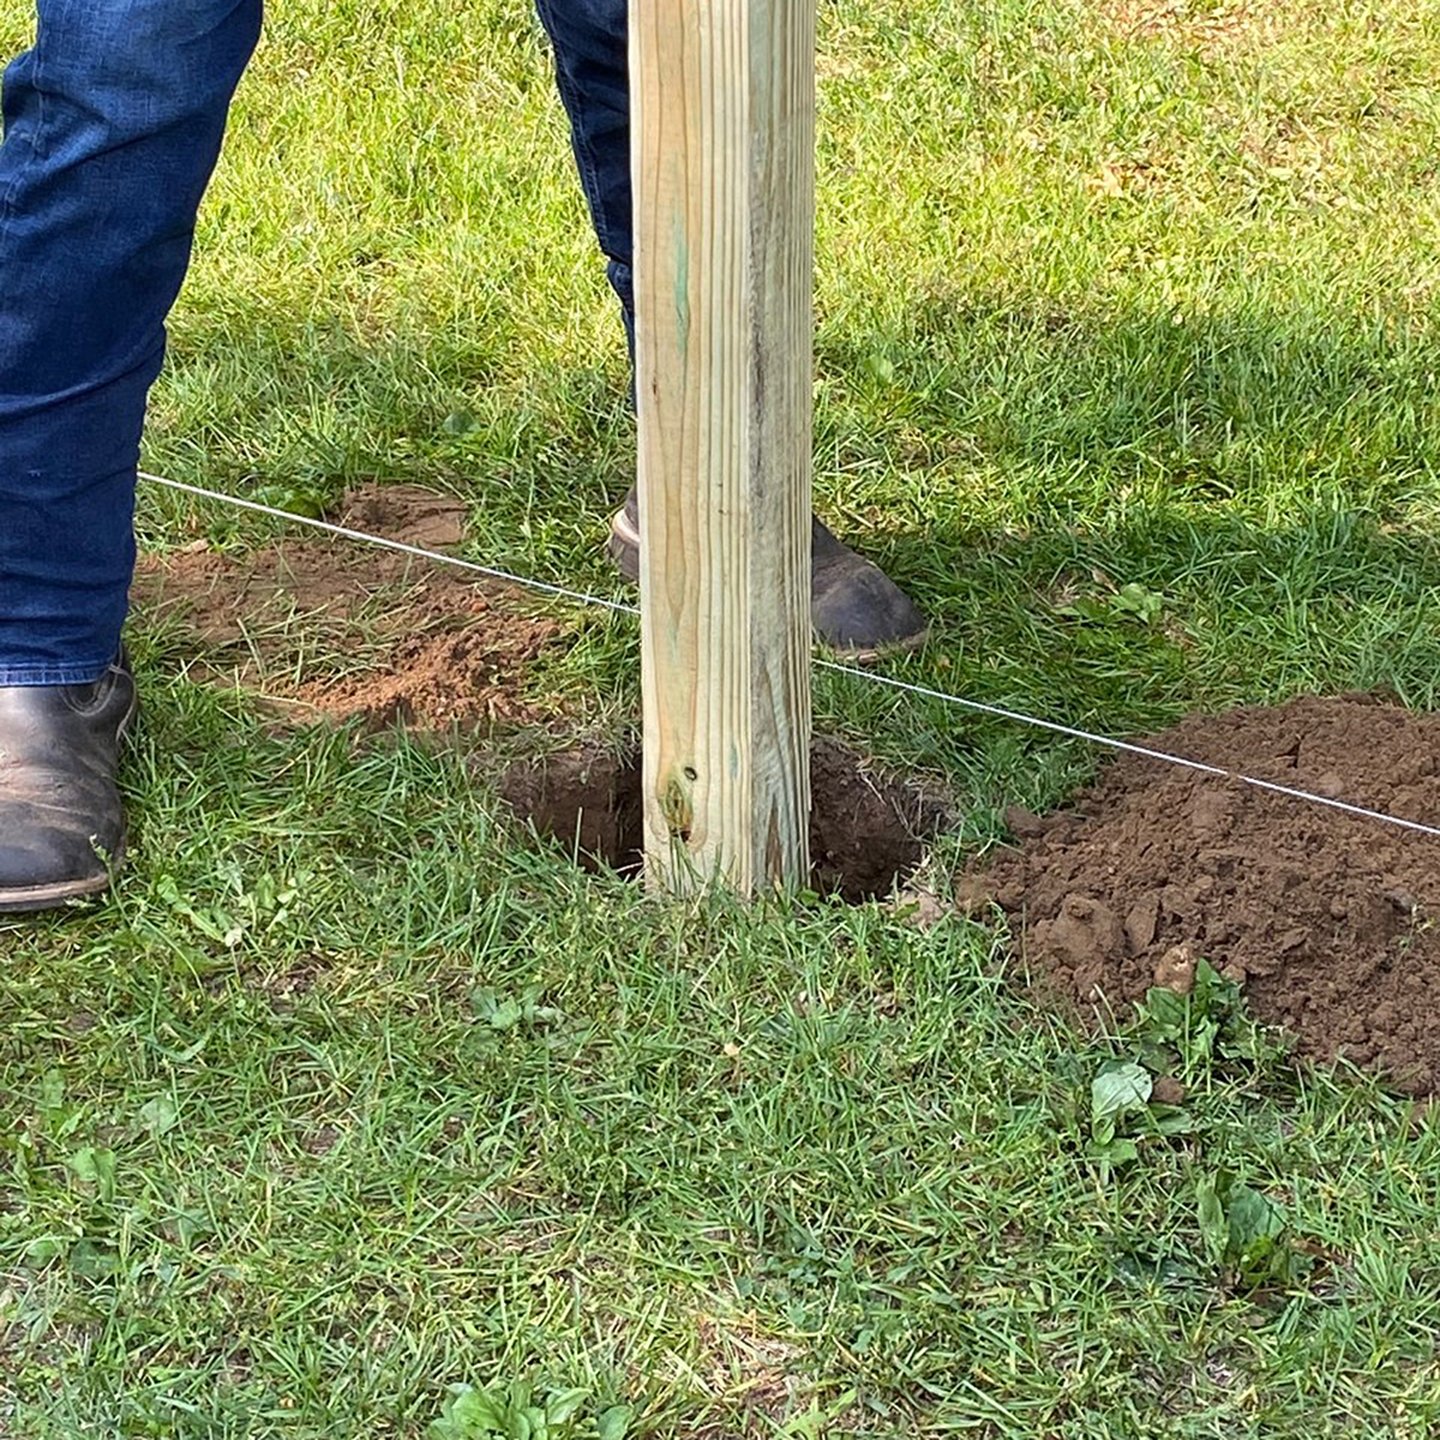
Digging post holes is hard work, but it is the most crucial to the long-term performance of your wooden fence. Posts form the backbone of your fence, so they need to be set deep enough in the ground to ensure a sturdy foundation. How deep you need to dig your post holes depends on a variety of factors: fence height, frost line depth, local building codes and more.
Here are four tips to help you find the correct fence post hole depth:
- Be mindful of the height of your fence. As a general rule of thumb, you’ll need to place at least 1/3 the height of the post in the ground. For example, a six-foot tall fence will need at least two feet of post in the ground.
- Research the frost line depth in your area. The bottom of the post needs to sit below the frost line, so the earth does not push out your posts overtime. The frost line varies from region to region, so it is best to consult local codes for requirement and depth.
- Check local building codes. Depending on the type of environment you live in, local building codes may have specific requirements based on the frost line, soil type and other variables. Double check with officials before beginning your project.
- Dig your post holes six inches deeper to allow room for gravel. Holes should be dug 10 to 12 inches wide or about three times the width of the post.