Projects & Inspiration
Subscribe to our e-newsletter!
Thanks for signing up!
There was an error with your request, please try again later.
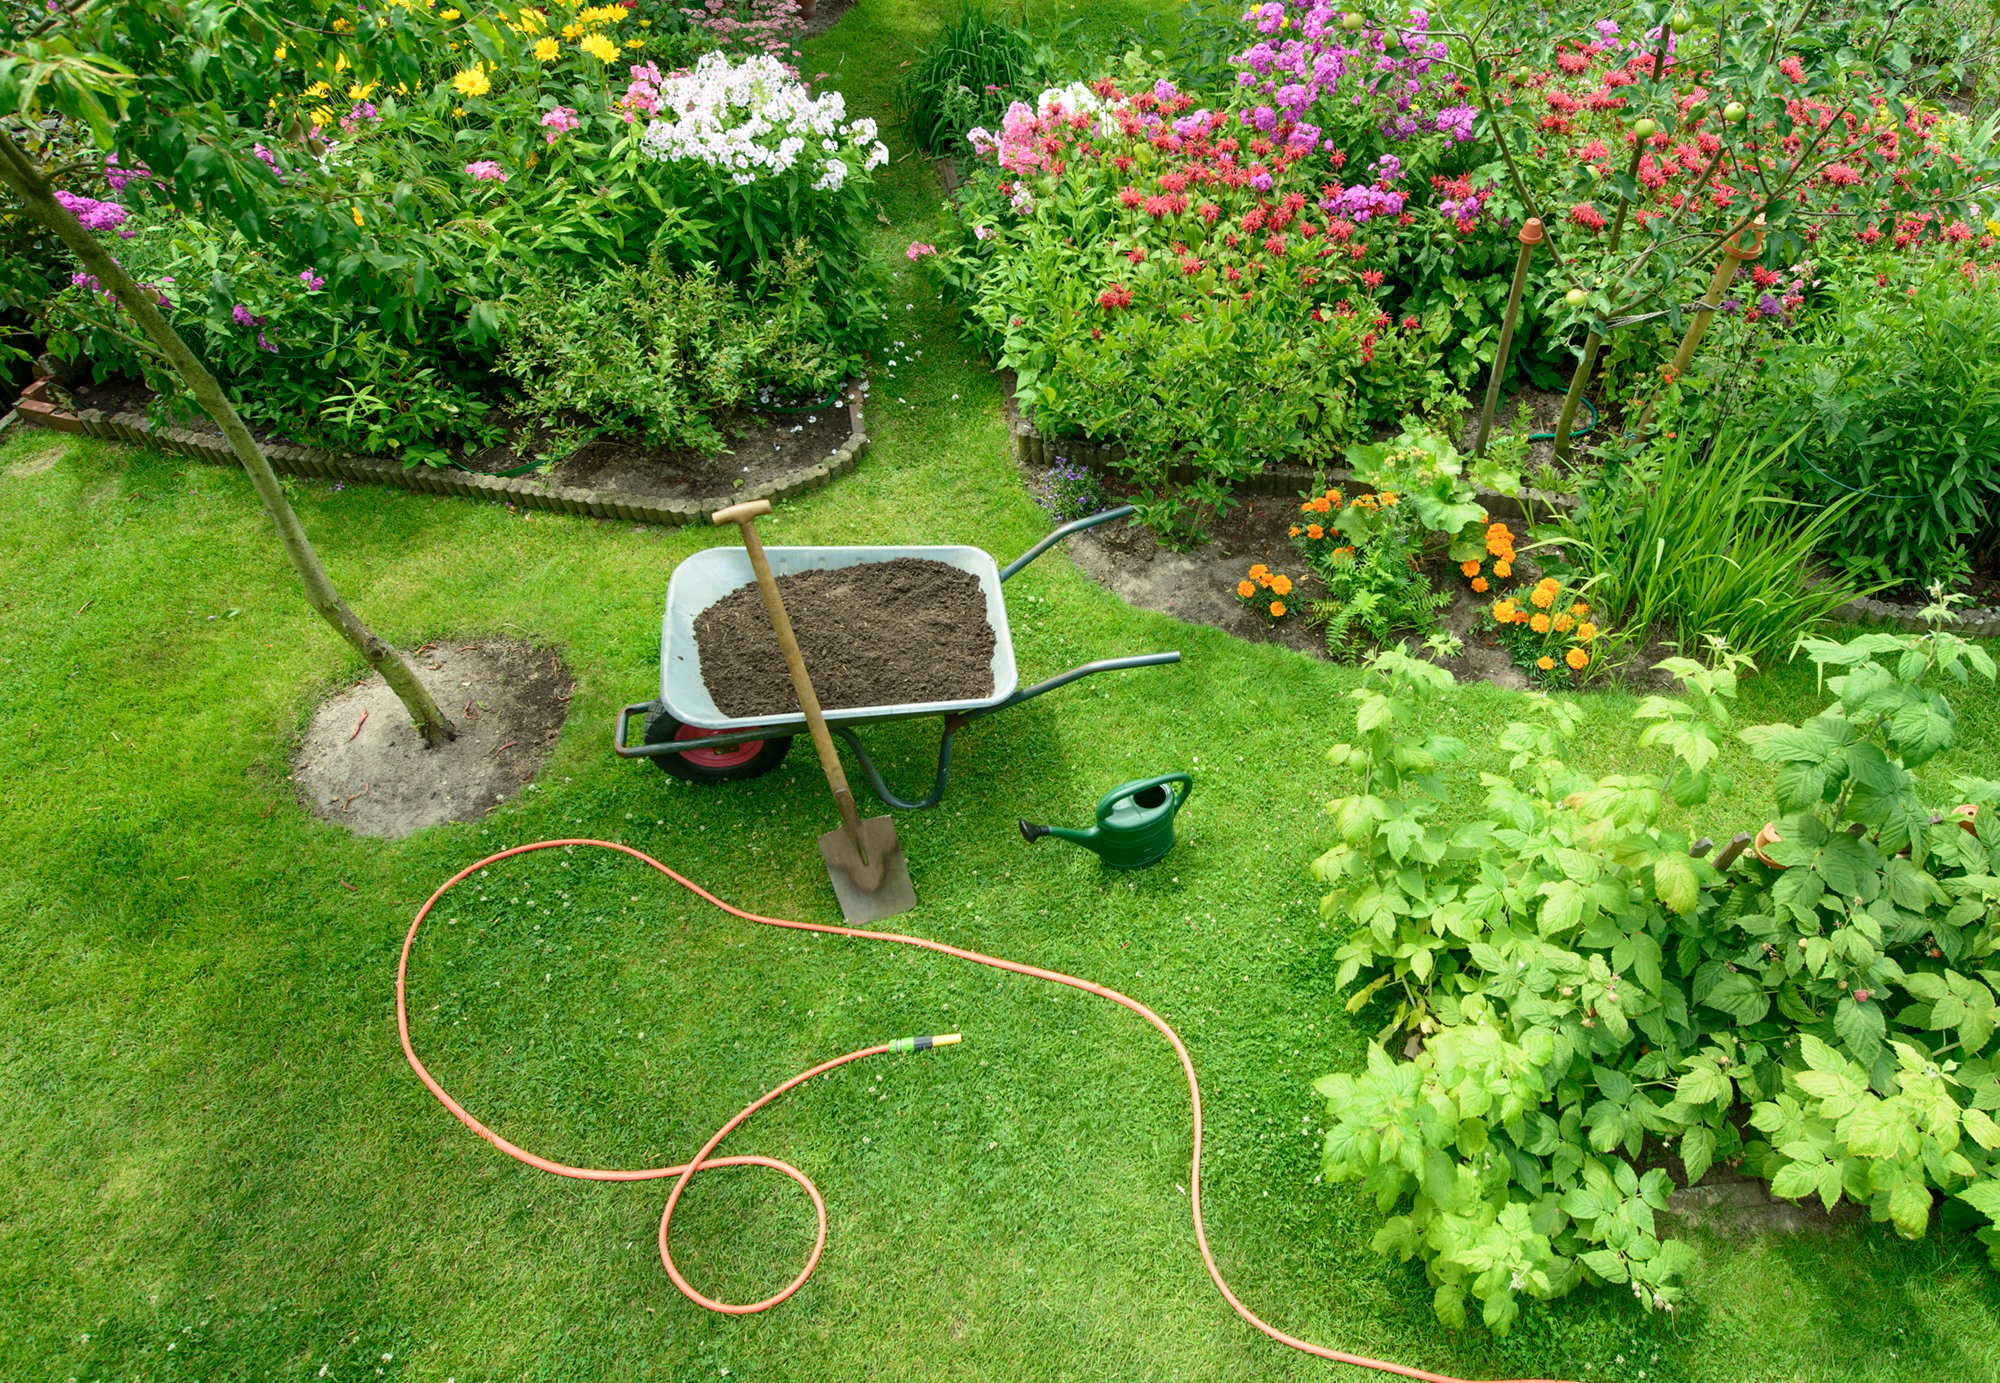
ENJOY IT OUT THERE
From neighborhood backyards, to urban spaces, the environment that surrounds our homes is treasured. Out there, whether gardening on a warm summer’s day or gathering with friends, it’s a special time. Outdoor Essentials is committed to empowering and enhancing these moments with inspiring, nurturing products that are easy to find, assemble, and grow with.