August
2023

How to Personalize Your Artificial Address Rock
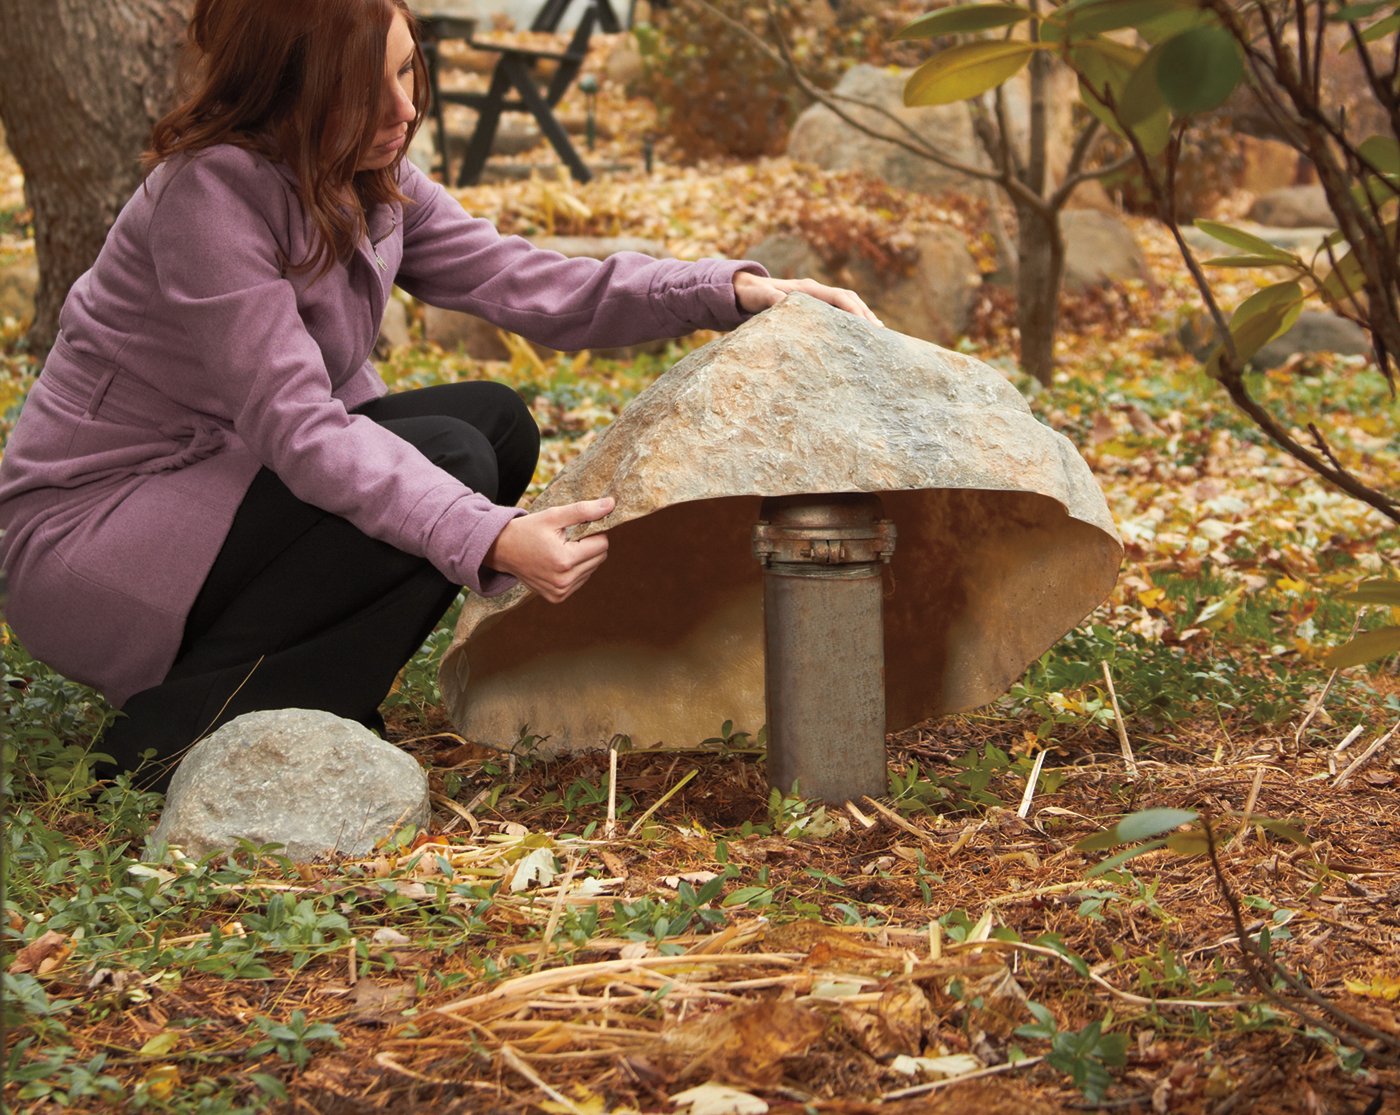
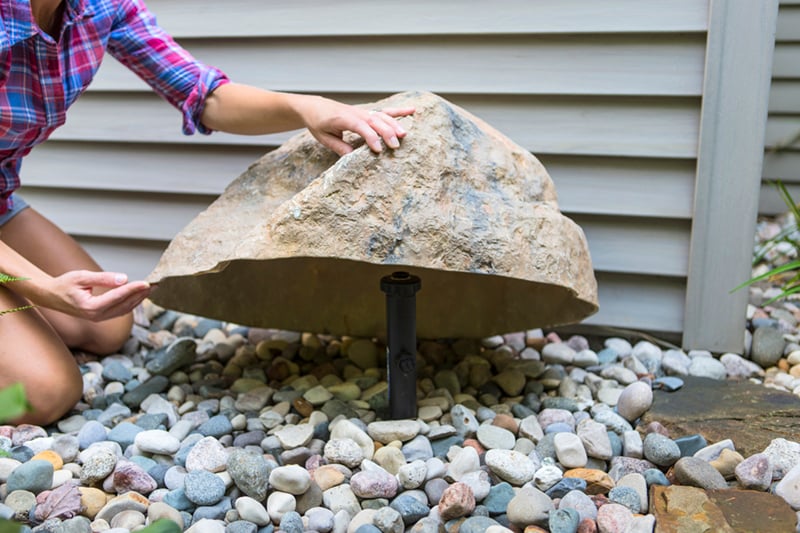
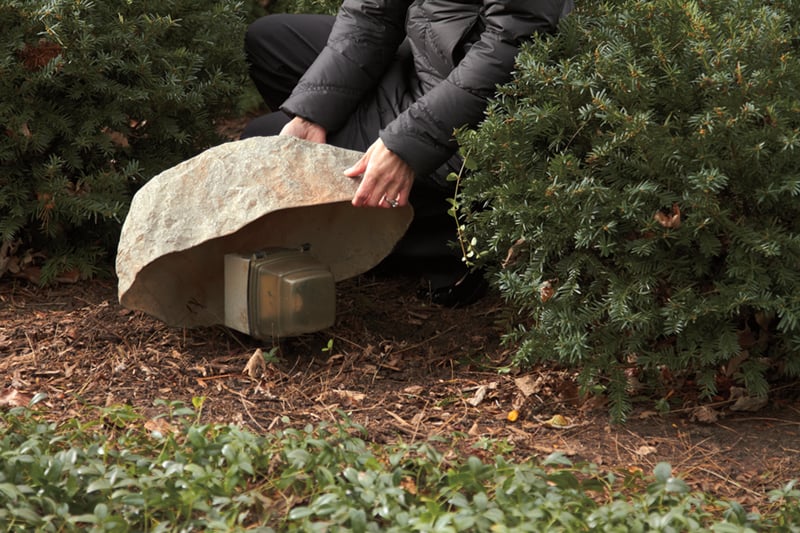
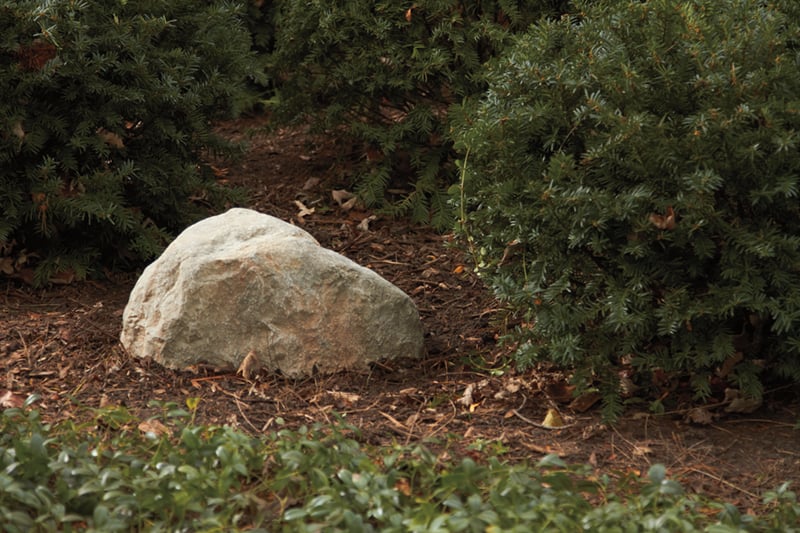
The Outdoor Essentials Artificial Address Rock is a great alternative to the traditional display of address numbers attached to your home. Each rock is made of durable fiberglass composite and coated with UV-resistant paint for the ultimate longevity. Whether you've just purchased an address rock or about to, here are four easy steps to add address numbers.
Required Supplies:
- Outdoor Essentials Artificial Address Rock
- House numbers or personalized plaque (no more than 5-½ inches tall and 15 inches wide)
- Cordless drill
- Masonry bit (Size depends on the screws in your number kit. This example uses a ¼-inch bit.)
- Screwdriver
- Drop cloth
- Ruler or tape measure
- Multi-purpose A3 Paper or larger (only if not using a plaque)
- Tape & pencil

Step 1. Prep Your Project
Place your rock on the drop cloth for easier cleanup. Create a 5-½ inch x 15 inch template with the piece of paper.

Step 2. Align Your Address Numbers
Properly center align your address numbers on top of your template. Mark the location of the screw holes.

Step 3. Create Screw Holes
Tape the template to the rock and use a cordless drill with a masonry bit to make holes through each pencil mark (avoid drilling on an angle). Remove paper and brush off debris.

Step 4. Attach Address Numbers
Using a screwdriver, attach address numbers to the rock.


You did it!
With the heavy duty, yet lightweight, material of the Outdoor Essentials Artificial Address Rock, it's perfectly mobile to use at your home all year round.